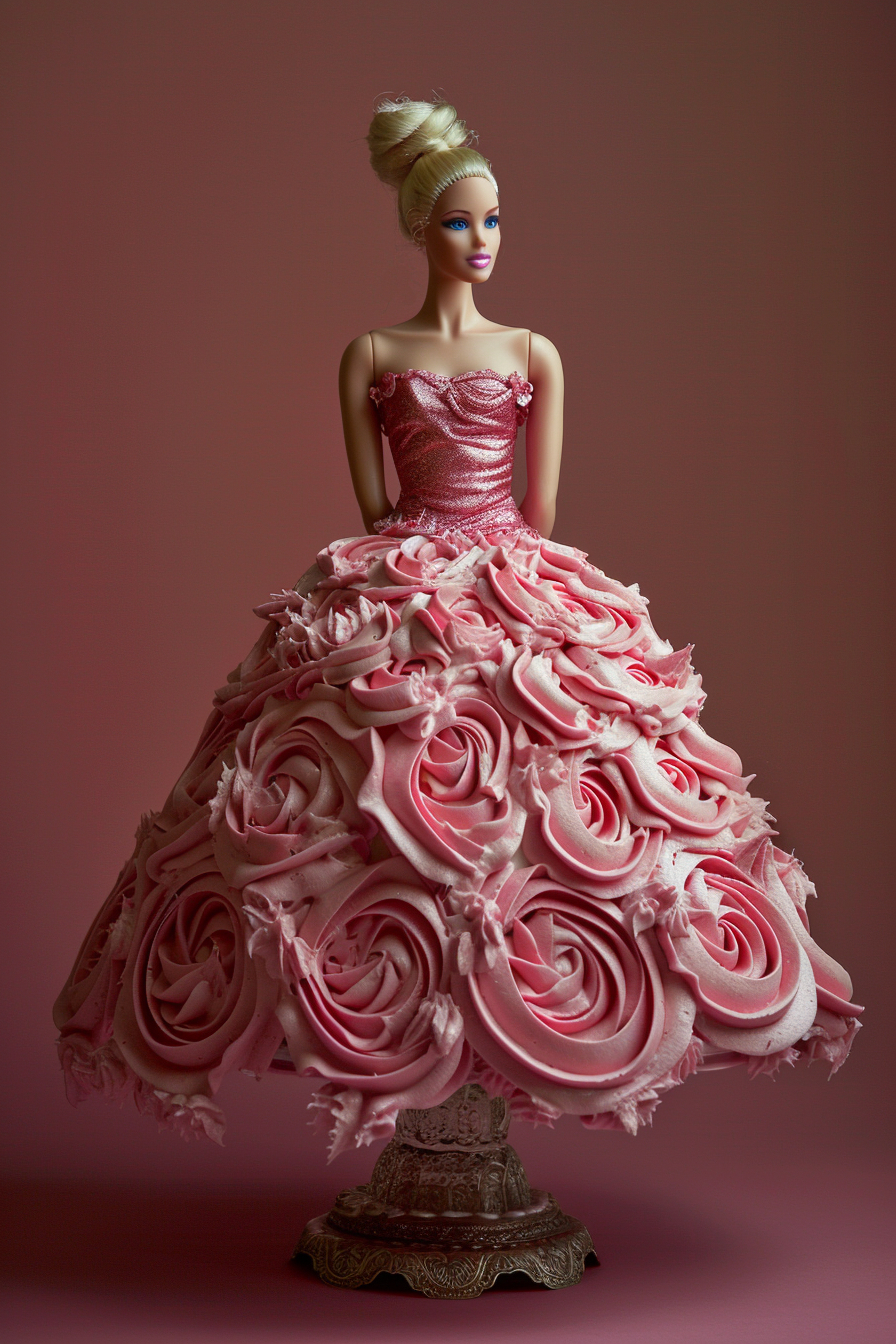
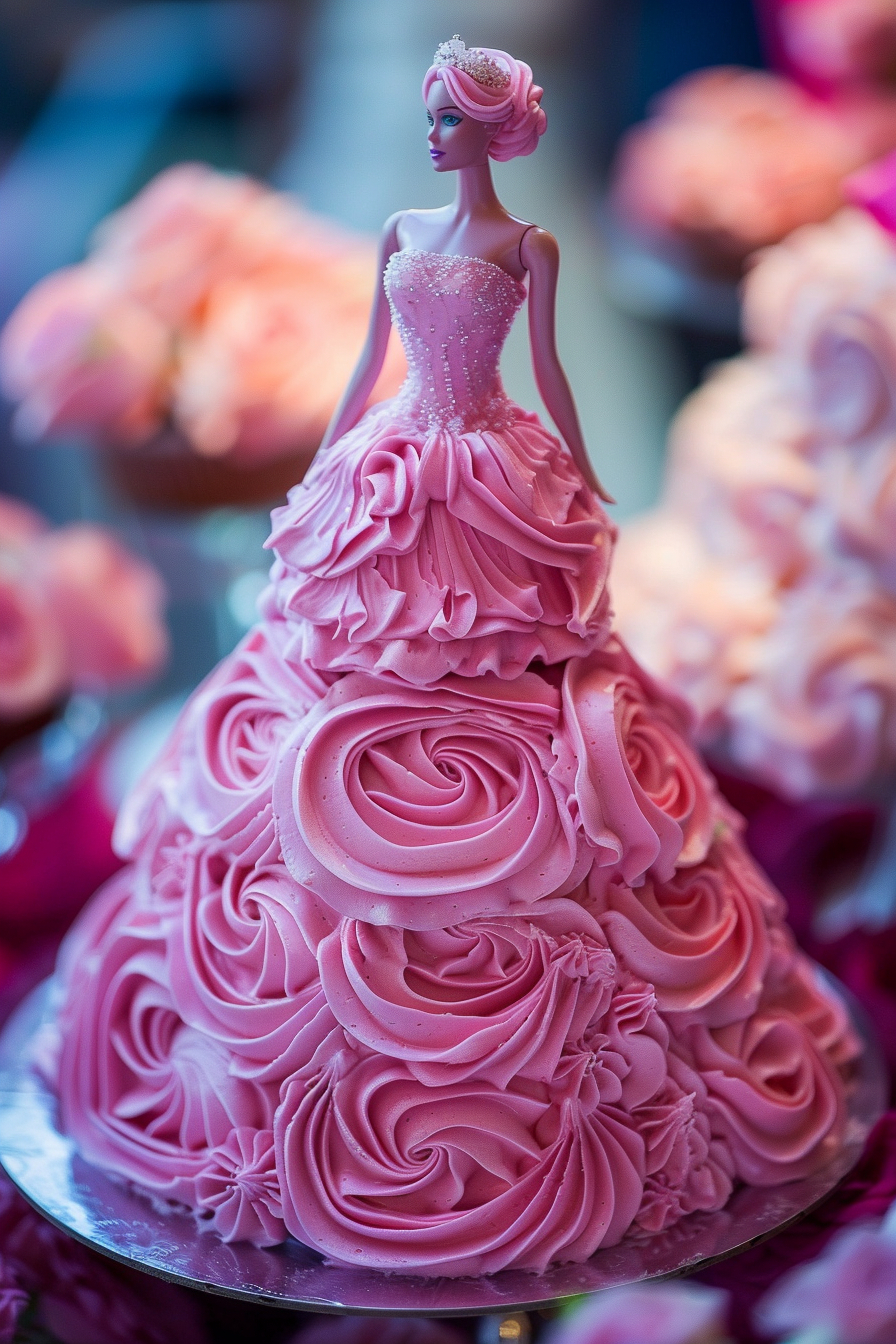
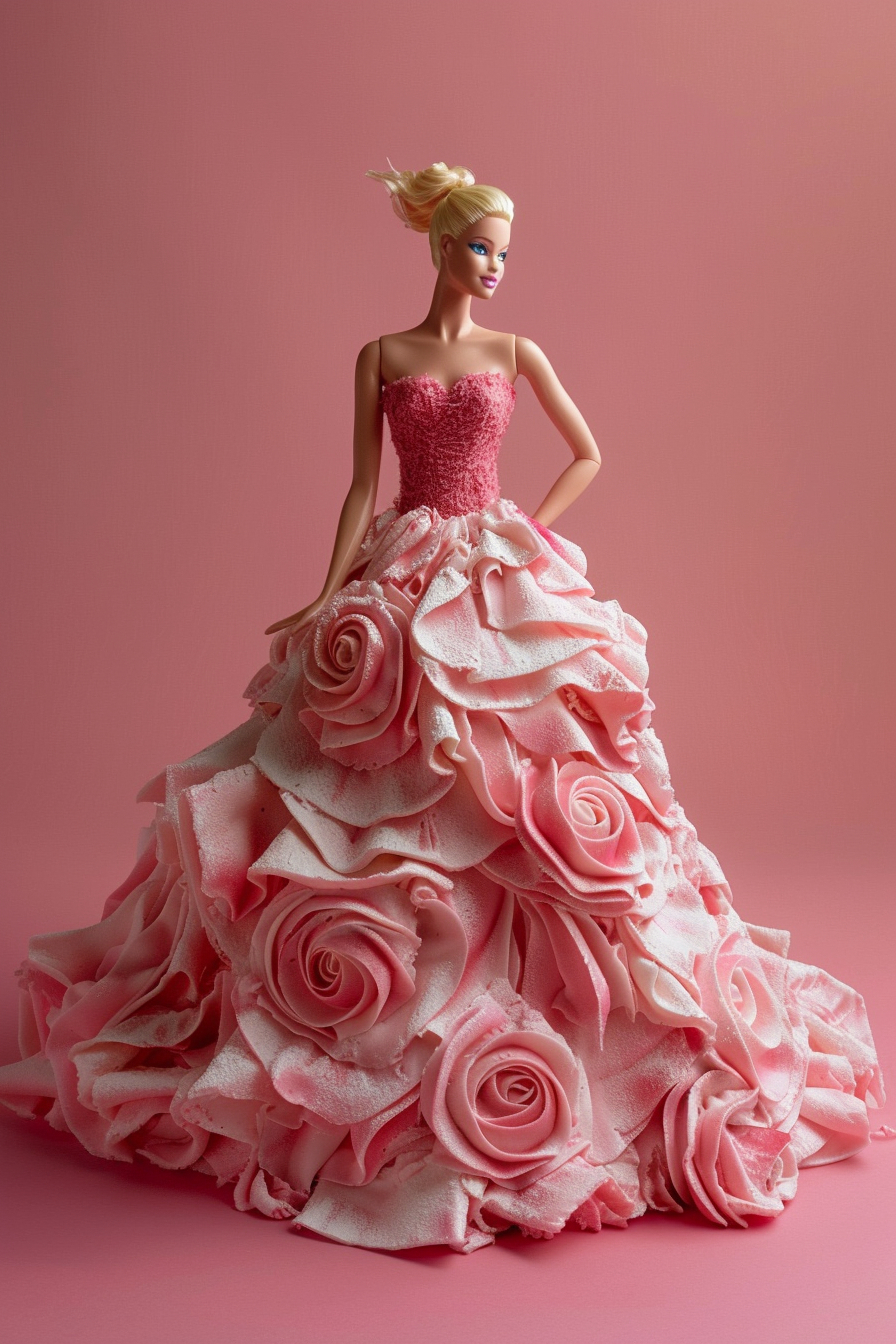
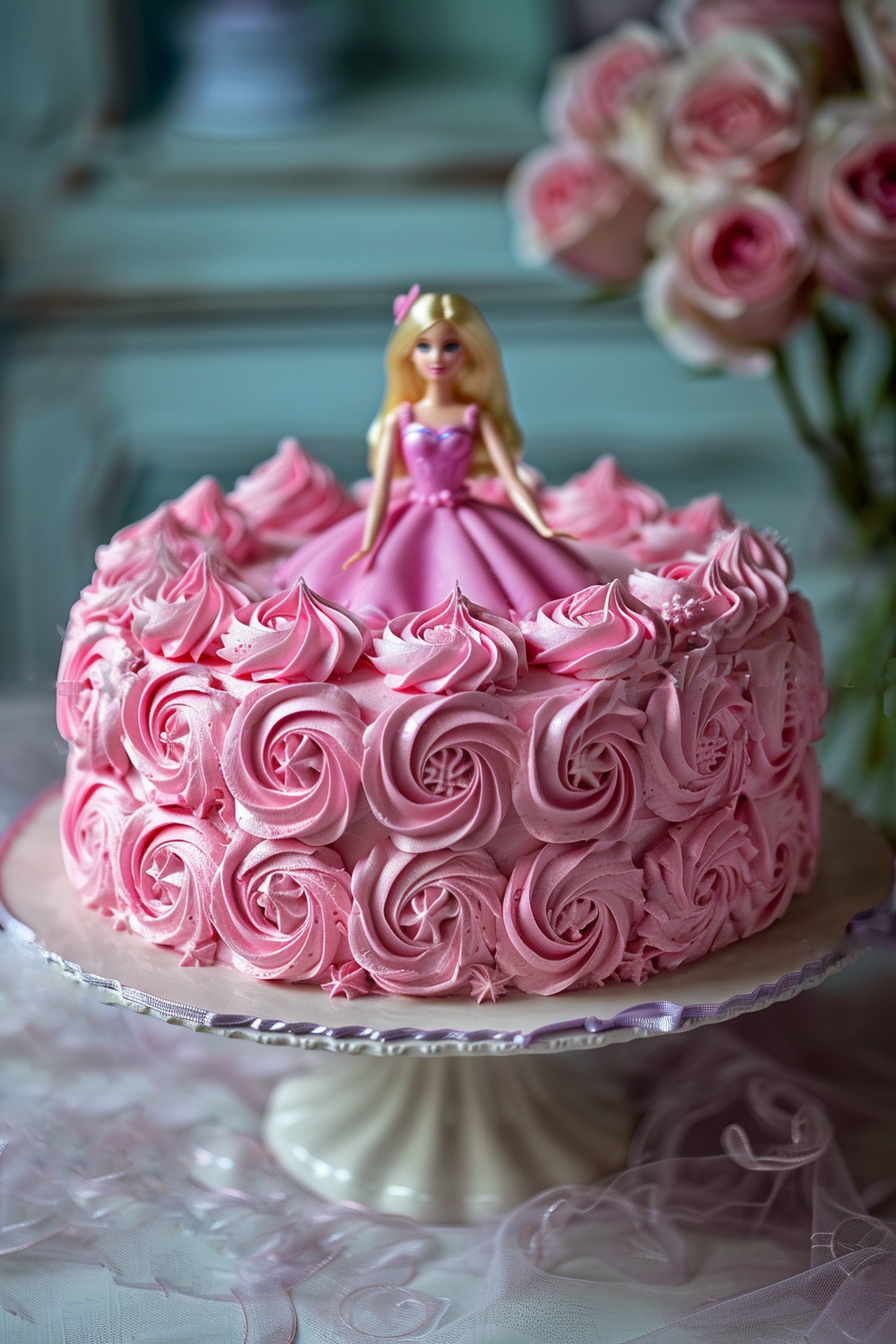
These Barbie cake designs are inspired by the pink world of Barbie, featuring colorful decorations, iconic Barbie motifs, and delicious flavors, creating visually stunning and delicious dessert.
Are you planning a Barbie-themed party or celebration and in need of some creative inspiration? Look no further! Barbie cakes are not only delicious treats but also beautiful centerpieces that can enhance any occasion.
Whether you’re celebrating a birthday or just indulging your inner child, these Barbie cake designs are sure to spark your imagination and leave you inspired to create something truly magical!
We’ll guide you through the steps of creating a show-stopping Barbie cake featuring a gown-shaped design and a touch of pink perfection.
Step 1: Preparing the Cake
Start by baking your favorite cake recipe in a dress-shaped cake pan or by carving a standard cake into the desired dress silhouette. Once cooled, level the cake layers to ensure a smooth surface for decorating.
Step 2: Building the Layers
Assemble the cake layers with a generous spread of your favorite frosting between each layer. For our Barbie cake, we recommend using a luscious pink buttercream icing to complement Barbie’s signature style.
Step 3: Shaping the Dress
Using a sharp knife, carefully carve the cake layers into a gown shape, tapering down towards the bottom to mimic the silhouette of a flowing dress. Take your time with this step to achieve the desired shape and proportions.
Step 4: Crumb Coat and Chill
Apply a thin layer of pink buttercream icing to the entire cake to seal in the crumbs and create a smooth base for decorating. Place the cake in the refrigerator to chill for about 30 minutes to firm up the icing.
Step 5: Adding the Final Coat of Icing
Once the crumb coat has set, apply a final layer of pink buttercream icing to the cake, ensuring even coverage and smooth edges. Use an offset spatula or cake smoother to achieve a flawless finish.
Step 6: Inserting Barbie
Now for the pièce de résistance! Carefully insert a Barbie doll into the top of the cake, making sure her lower body is hidden within the layers of the cake to create the illusion of her wearing the dress. Adjust her position as needed to achieve the desired look.
Step 7: Decorating the Dress
Get creative with decorating Barbie’s gown! Use piping bags fitted with various tips to add decorative details such as ruffles, swirls, or lace patterns to the dress. You can also embellish the gown with edible pearls, fondant flowers, or shimmering sugar crystals for added flair.
Step 8: Finishing Touches
Once you’re satisfied with the design of the dress, add any final touches to complete the look. Consider adding a fondant or buttercream bodice to Barbie’s upper body, along with fondant accessories like a necklace or earrings to enhance her ensemble.
Step 9: Display and Enjoy!
Place your masterpiece on a cake stand or decorative platter and prepare to dazzle your guests with your Barbie-themed creation!
Summary
These inspiration photos for Barbie cakes are just the beginning of your creative journey. With a little imagination and a lot of frosting, you can bring these cake designs to life and create memories that will last a lifetime. So, gather your baking supplies, channel your inner Barbie, and get ready to dazzle your guests with a cake that's as fabulous as it is delicious!
")


